By firstly using the power of pen and paper a character design is
created, which is then scanned into the computer to use as a base for
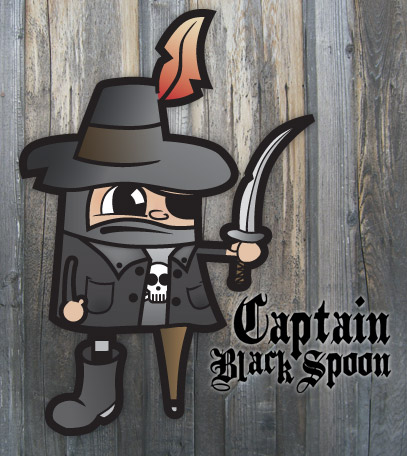
tracing with Adobe Illustrator. The final outcome is a colourful
cartoon character in vector format!
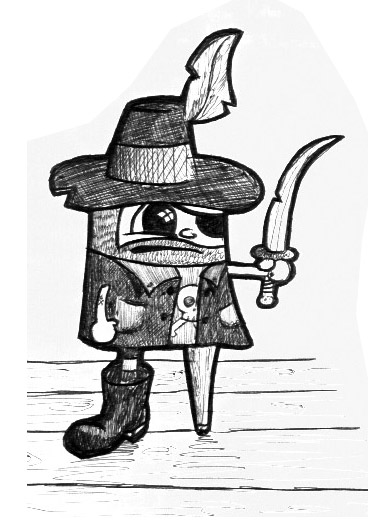
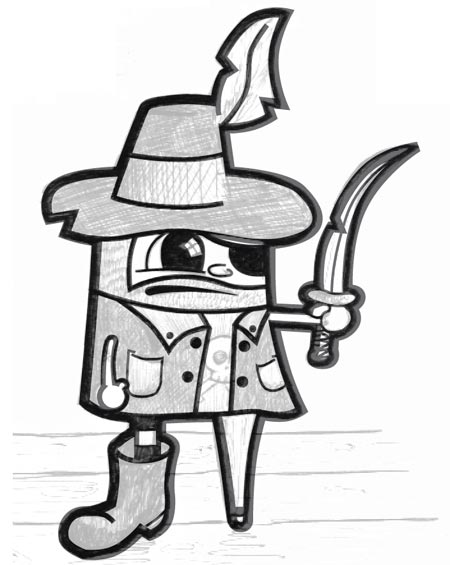
The
first step in the creation of the Pirate is to sketch out your ideas
for the character onto paper, once you are happy with your design scan
the page of your sketchbook into your computer. 150dpi resolution will
suffice as the scan is used solely for reference.
Those who don't
feel they are the best artists may want to simply save my sketch of
Captain BlackSpoon to their computer for use with this tutorial.
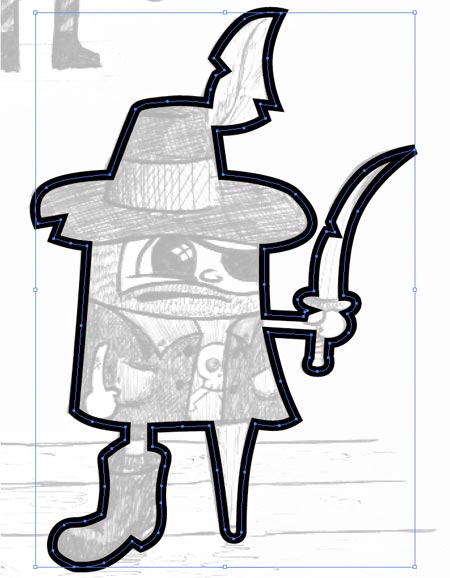
Open
up Adobe Illustrator and place the scan onto the artboard (File >
Place), set the opacity down to 20% or so and lock the layer.
Create
a new layer and drag it below the scan layer. Use the Pen Tool to
follow the outline of the sketch, then add a stroke of 8pt. When using
the Pen Tool it is helpful to use the CTRL and ALT keys to toggle
between different tools.
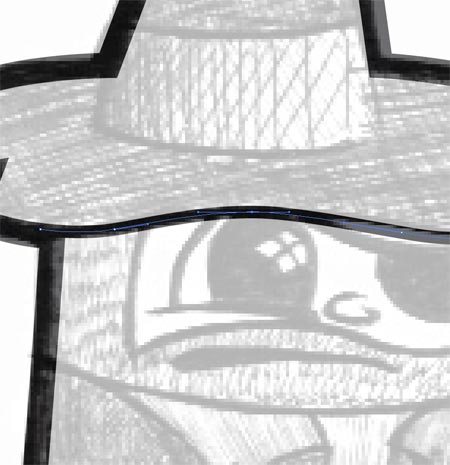
Once
the outline is complete, use a smaller 4pt stroke to trace the detail
lines such as the edge of the hat, beard line, coat outline etc. Zoom
right in to position the stroke to give a fluid line from the thicker
outline.
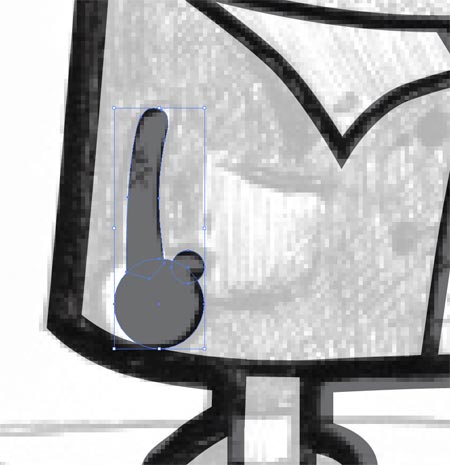
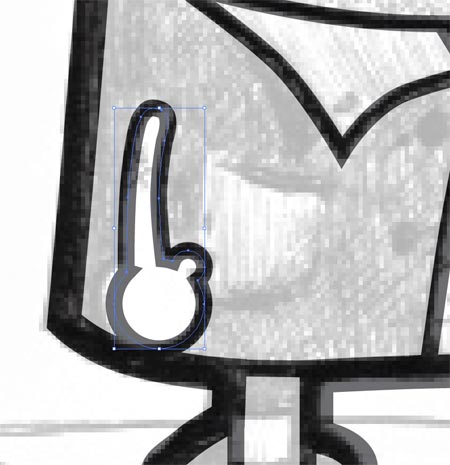
When
you get to the arm, the character has a stylised hand, the simplest way
to trace this is to draw two circles as shown, and draw the arm shape
with the Pen Tool (complete the shape). Fill all these shapes with
black, then use the Add To Shape Area within the Pathfinder window to
join the shapes together. Swap the black fill to a 4pt outline.
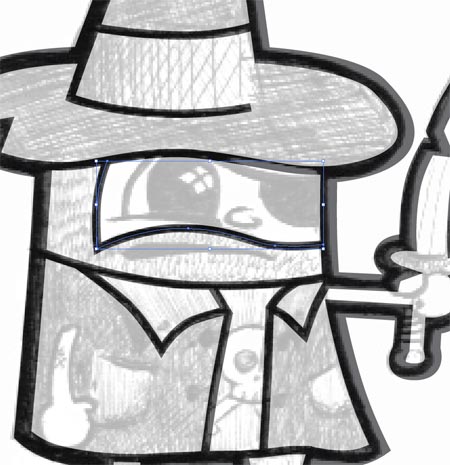
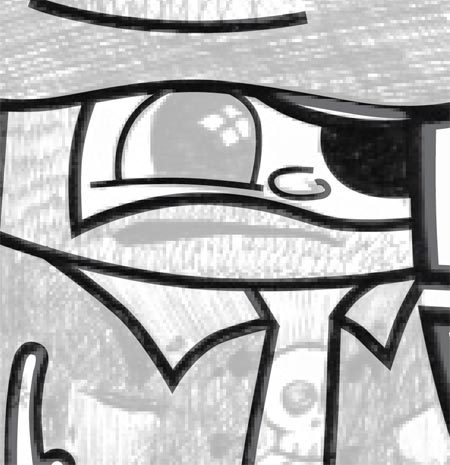
Create the shape of the eye patch and fill with black.
Use an even smaller 2pt stroke to outline the finer details on the face such as eye and nose.
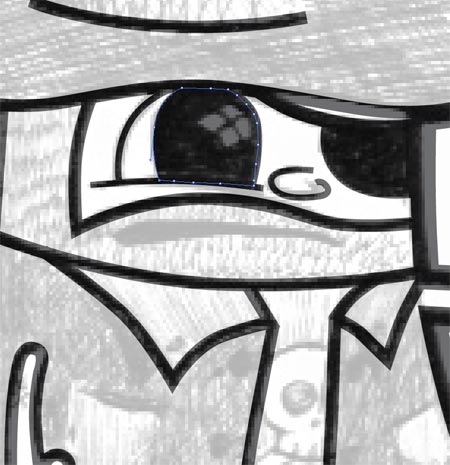
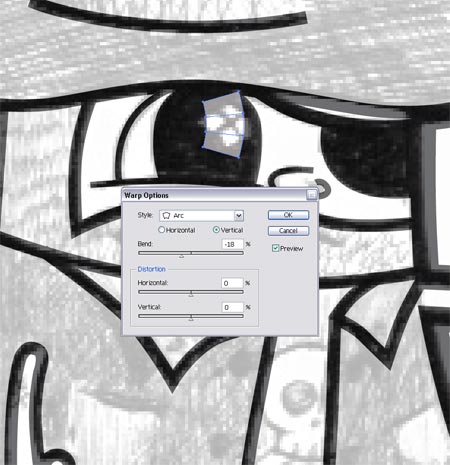
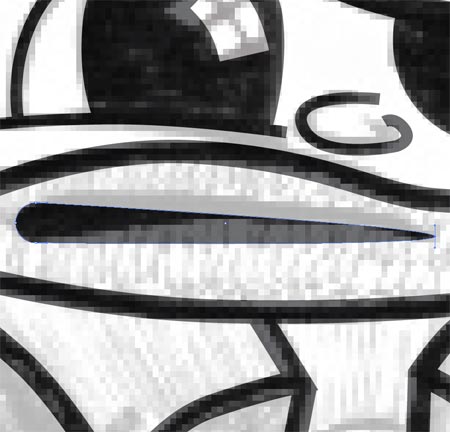
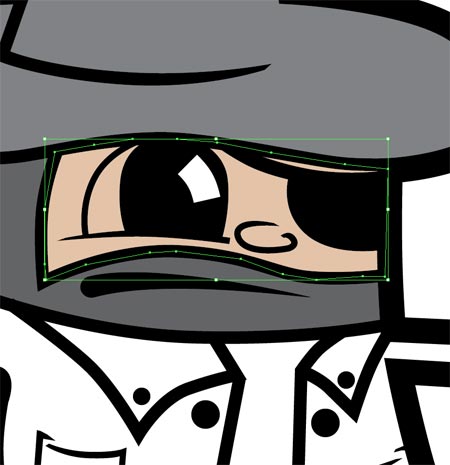
Fill
the eyeball black, then create a small white rectangle as the
highlight. Give this a curved shape by heading to Object > Envelope
Distort > Make With Warp and choose the settings; Arc, Vertical,
-18%. With the object still selected head to Object > Expand and
select the Object checkbox.
Scale the highlight and rotate into position.

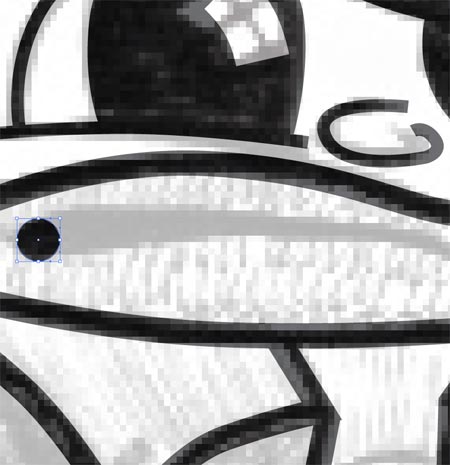
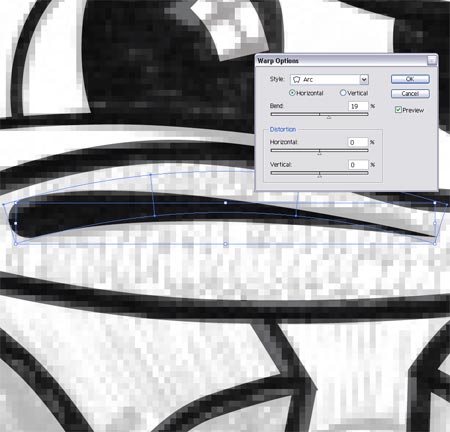
To
draw the mouth, create a small black circle to the left of the mouth
opening, then use the Direct Selection Tool to select the single point
on the right. Drag this point to the opposite side of the mouth. Use
the Envelope Distort function again to give a curved appearance, with
the settings; Arc, Horizontal, 19%.
Trace
the rest of the finer details on the character with the 2pt stroke,
including sword handle, pockets and boot. Add buttons to the coat with
small black circles.
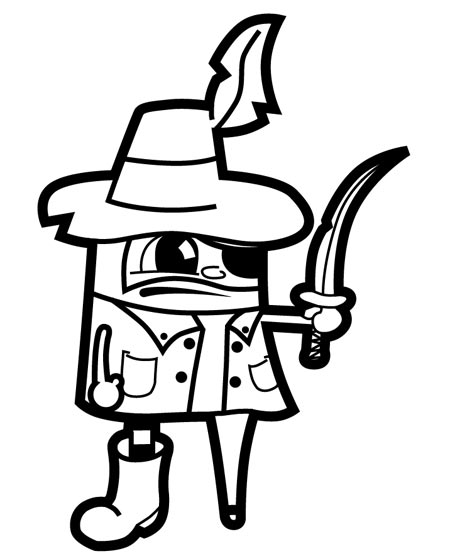
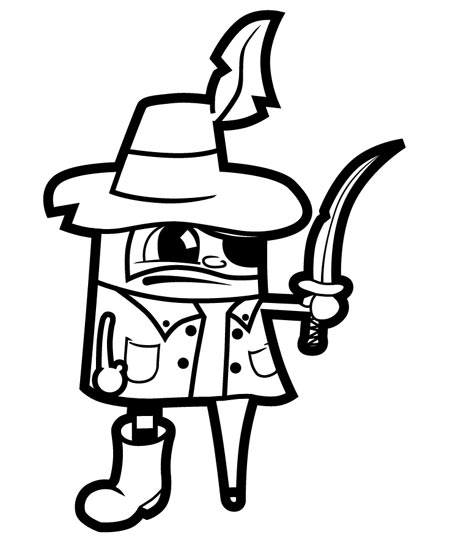
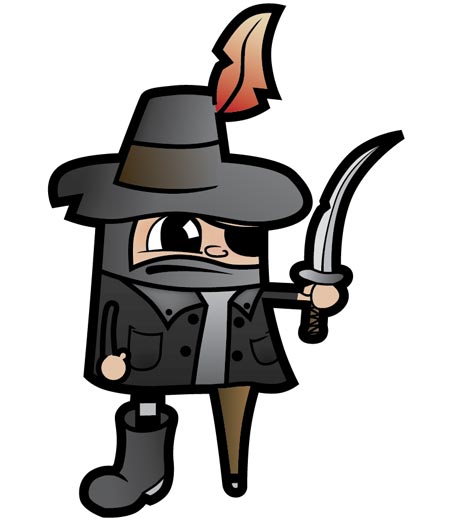
Once
the character has been fully traced uncheck the visibility of the
sketch layer and make any adjustments you deem necessary, on my example I
made the arm larger than the sketch and scaled down the boot slightly.
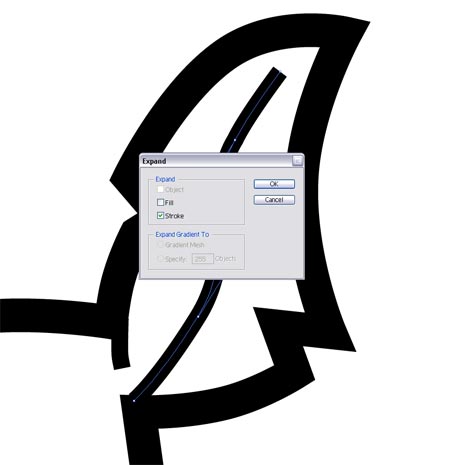
Remove
the square edges of some of the traced lines, such as on the feather
and facial features by zooming in and selecting the stroke. Click
Object > Expand and select Stroke, then use the Direct Selection Tool
to nudge individual points into position to achieve a pointed shape.

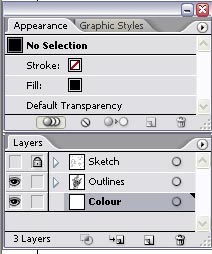
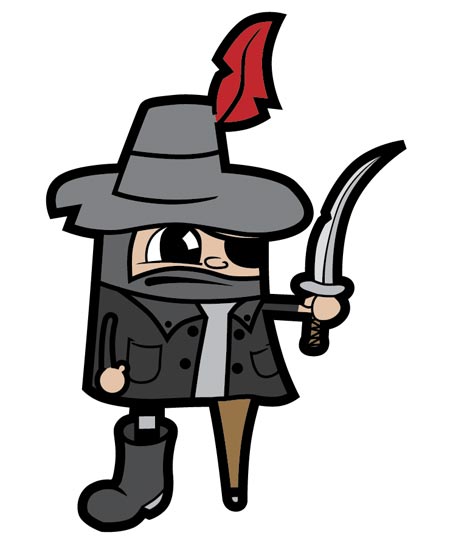
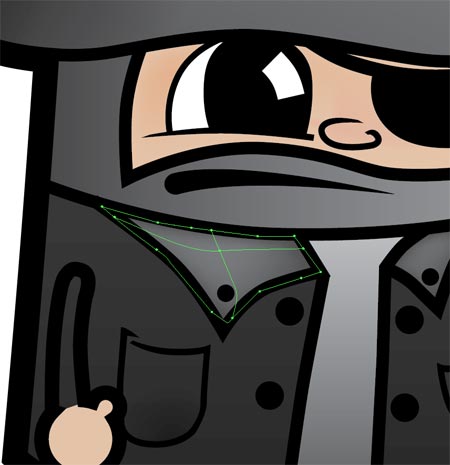
Create
a new layer and position under the stack. Select a grey colour swatch
and roughly follow the shape of the hat without straying from the black
outlines.
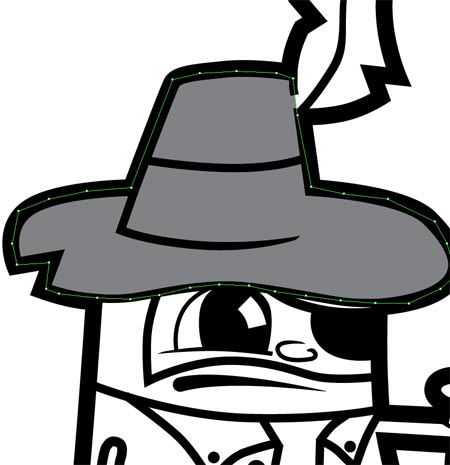
Repeat this process with the rest of the character, and fill each block with the appropriate colour.
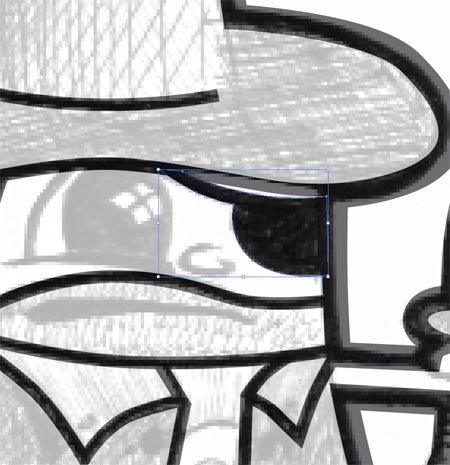
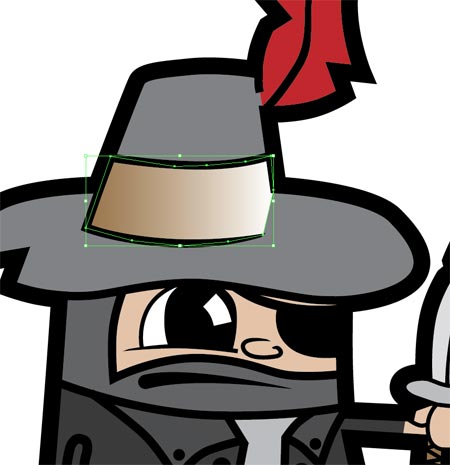
Zoom
back to the hat and draw a shape outlining the stripe as shown. Fill
this selection with a brown to white gradient then change the
Transparency Mode to Multiply to render the white transparent.
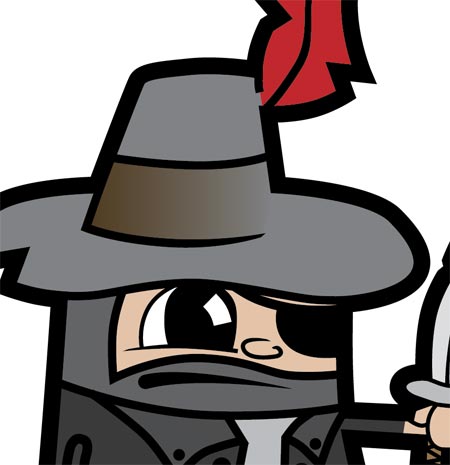
Go
through each block of colour and add gradients to give depth to the
character. Using the Gradient Tool and the Gradient Mesh tool from the
toolbar can help at this stage.
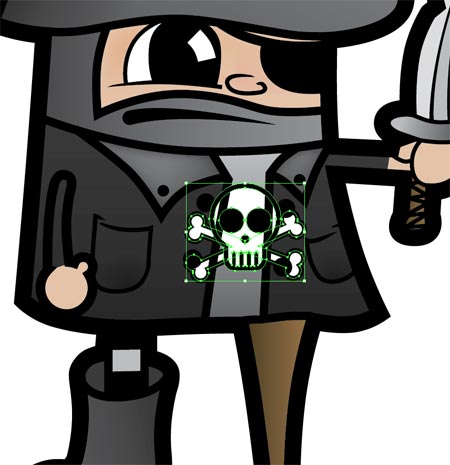
Add a final detail by downloading the SpoonGraphics Punk Vector Pack
and copying the skull and crossbones graphic. Paste this graphic into
your pirate and use the CTRL/CMD + [ and CTRL/CMD + ] shortcuts to
arrange the graphic under the coat, but above the undershirt.
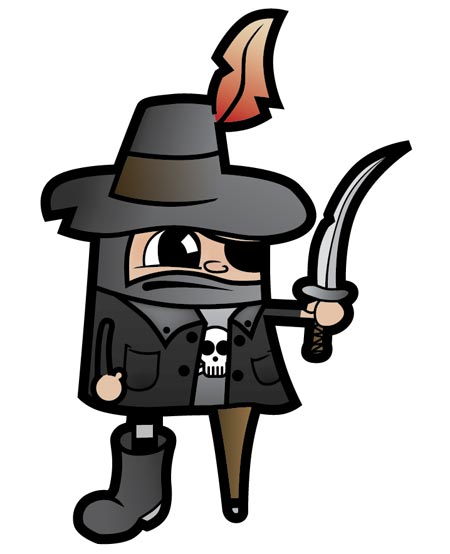
Compose
your final piece in Photoshop by pasting the complete vector character
onto a background texture and giving him a mean and ruthless pirate
name!
Tuesday, September 17, 2013


